Cover Image
You can design a beautiful interface in Figma. Now a client asks: can you ship it? In 2026 the honest answer is yes — but only if you pick the right AI coding tools for the job. The landscape is chaos: generators, editors, agents, with overlapping claims about what visual designers can build.
This guide fixes that. Verdict-first map of the tools that matter, one repeatable workflow from Figma to shipped code, and honest limits. It builds on related guides linked here — each linked below as further reading.
Who this is for: freelance and solo UI designers who own the design side and want to own the shipped result too — portfolios, client landing pages, marketing sites, prototypes that became real. If you live in Figma and flinch at terminals, you are exactly who this was written for. Developers who collaborate with designers will also get value, but the verdicts assume a visual-first brain.
How to use it: read the landscape map once, pick your two tools, then skip straight to the five-step workflow and the five-day starter plan. Come back to the DESIGN.md section when you are ready to reuse design context across tools.
TL;DR: A suggested starting pair is a prompt-to-UI generator (v0 or Stitch) for exploration and a visual-first editor (Onlook or Cursor with a DESIGN.md file) for shipping. The real multiplier is not the tool — it is a machine-readable design system (DESIGN.md plus tokens) that gives AI explicit design guidance. Start with one landing page, wire the five-step workflow below, then expand.
The Landscape in One Map: Generators vs Editors vs Agents
These three categories describe different jobs, although their capabilities overlap.
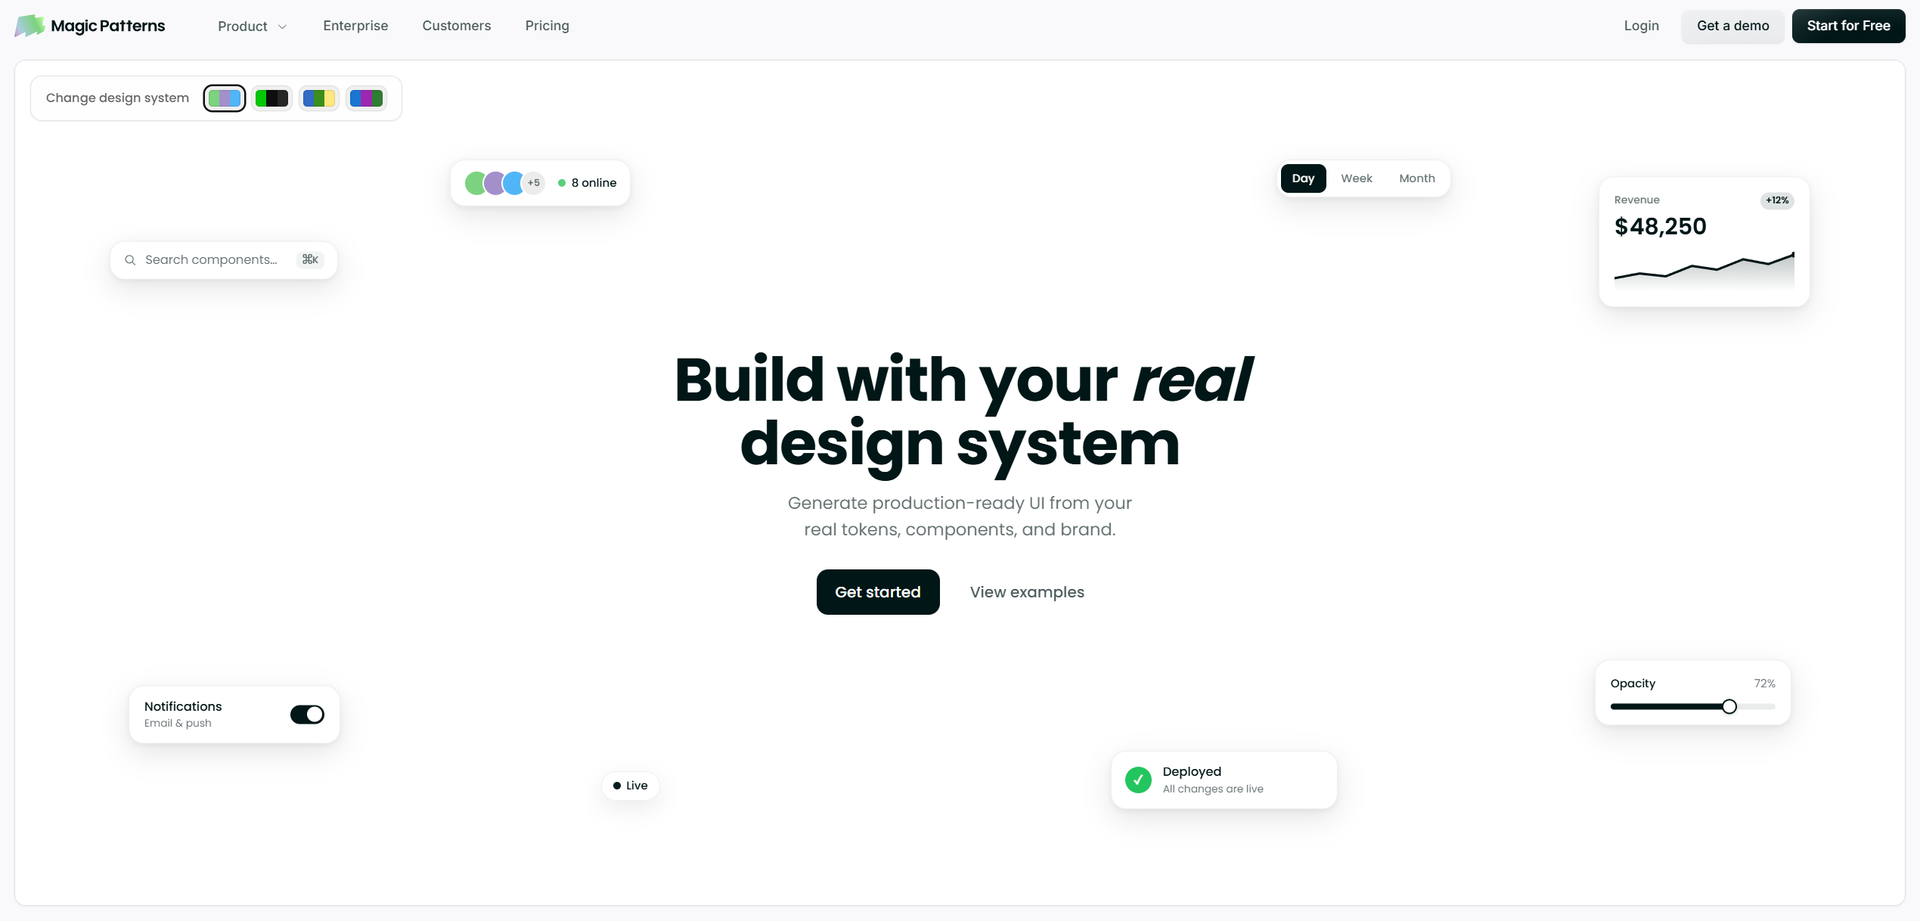
Prompt-to-UI generators turn text into a first draft of UI. You describe a landing page; you can get a first code draft to inspect. v0 is the reference point here — an AI agent that helps anyone, explicitly including designers, create real code and full-stack apps to accelerate prototyping and shipping. Google's Stitch plays the same role with a multimodal, designer-oriented pitch. Magic Patterns sits nearby: fast generation with a path toward real code.
Visual-first editors let you change real code by touching the design, not the file. Onlook calls itself a visual editor for code: teams design together directly in a real React, Next.js, or Vite codebase, with code as the source of truth. Cursor comes from the other side — an AI coding agent for building ambitious software, which says it is trusted by over half of the Fortune 500 — but paired with design context files it becomes a serious shipping tool for designers comfortable near code.
Agent frameworks can coordinate tools and actions. Design tokens, rules, and review loops supply context and checks within those workflows. This is where agentic UX workflows live — review and override loops that keep a human in charge.
Tool | Class | Job | Learning curve | Designer fit |
|---|---|---|---|---|
v0 | Generator | Exploration, first drafts | Low | High — prompt in, UI out |
Stitch | Generator | Multimodal exploration | Low | High — designer-oriented |
Magic Patterns | Generator | Fast drafts toward code | Low | Medium — bridge tool |
Onlook | Visual editor | Ship production edits visually | Medium | Highest — think visually, edit code |
Cursor + DESIGN.md | Code editor + context | Production edits with AI help | Medium–high | High once tokens exist |
React Bits / Magic UI | Component source | Drop-in animation + effects | Low–medium | High — check project/framework compatibility |
Community interest is visible in the Onlook Show HN launch and Magic Patterns Launch HN discussion. Treat these as discussion signals, not adoption data. The learning-curve and designer-fit labels above are editorial recommendations; use one small project to check the fit with your workflow.
Pick one generator and one editor. Use that as a starting pair. Everything below assumes that pairing.
Worth knowing: these classes overlap. A generated draft can contain inconsistent spacing, invented colors, or accessibility problems, while an editor can also support exploration. v0 supports full applications and publishing, and Stitch supports interactive flows. The generator/editor split here describes this guide’s suggested workflow, not a product limitation. Match the tool to the task and review the actual output.
Start Here: v0 and Stitch for Exploration
For exploration and first drafts, I would start with a prompt-to-UI generator. Pick one, not both.
I would use v0 to explore a first draft: describe a page, get a working layout with real components, then iterate in plain language. What it adds over a mockup is momentum — you are reacting to something interactive in an interactive preview. Stitch adds multimodal input to the same loop: start from a sketch, a screenshot, or a reference, and generate from visual intent rather than words alone.
What a first session actually looks like: describe the page in one paragraph — purpose, three sections, tone — and generate. React to the result like a design crit, not a code review: which direction has the right bones? Iterate on that one with concrete visual instructions ("darker hero, more whitespace, cards in two columns") rather than vibes ("make it pop"). Each round should change one decision, not five.
Try a three-round timebox for exploration. If the layout still does not fit, clarify the brief, inspect the output, or try another approach before continuing. Three rounds is a suggested stopping point, not evidence that the prompt must be the problem. You can move to an editor when direct edits are more useful; tools such as v0 also support publishing.
One more generator truth: the output is a starting point with real code behind it, which means everything down the line — tokens, visual edits, polish — compounds. A generator draft you can open in Onlook tomorrow beats a mockup whose handoff path you have not checked. Fidelity of the mockup matters less than editability of the code.
For a deeper comparison of the AI prototyping layer, read AI prototyping tools compared in depth.
Ship It: Onlook and Cursor for Production Edits
Visual editing on real code is one path toward shipping. Two paths, one decision: do you want to think visually or in code?
Onlook is built for designers who think visually. You select an element on the canvas, change it, and the underlying React code updates — no file-hunting, no syntax anxiety, and the codebase stays the source of truth so developers (or your future self) inherit editable code to review. If your mental model is Figma with a deploy button, start here.
Cursor is the pick for designers comfortable near code. It is a full AI coding agent — autonomous edits, model flexibility, the works — and its designer superpower is context files: point it at your DESIGN.md and tokens, and it has your system available as guidance, which you still need to verify. The learning curve is steeper, but the fit depends on the code tasks you need to handle. Practically: open the exported project folder, attach your DESIGN.md as project context, then ask for bounded changes one at a time ("convert all buttons to pill radius per DESIGN.md") rather than open-ended rewrites. Review each diff visually before accepting — the agent can make spacing errors.
Between them sits the component layer. Do not hand-write animations the AI fumbles: pull from animated UI libraries for AI coding, and when choosing between these two animated component collections, use the Magic UI vs React Bits comparison — five checks, one verdict.
The Piece Everyone Skips: DESIGN.md and Machine-Readable Context
Explicit design tokens and rules give an AI tool requirements you can check. DESIGN.md is one way to supply them.
A DESIGN.md file can describe your design system in plain text: color tokens, type scale, spacing rules, component constraints, and examples. Supply it through the tool’s supported context mechanism. Stitch documents DESIGN.md import and export; Cursor documents project rules and AGENTS.md. A filename alone does not guarantee that every tool reads the file or follows every rule.
The pipeline matters too: Figma to Markdown conversion turns your visual source into text agents can actually use. Follow the full method in the DESIGN.md handoff guide, and understand the consumption side in agentic UX workflows — the machine-readable context section explains how agents parse what you give them.
Keep this file tight and quotable: tokens as code, rules as bullets, examples as pairs. It is a reusable context artifact to adapt to each tool — and the input the five-step workflow below runs on. A minimal version looks like this:
# Acme Landing — Design Context
## Tokens
- brand-500: #4F46E5; ink: #111827; paper: #FFFFFF
- font-display: "Sora", sans-serif; font-body: "Inter", sans-serif
- spacing unit: 8px; radius: 12px cards, 999px pills
## Rules
- Never invent a new blue; use brand-500 or ink.
- Headings always font-display, never font-body.
- Buttons: pill radius, 16px/24px padding, no gradients.
- Motion: 200ms ease-out max; no auto-playing carousels.
This is a short illustrative context file. Attach or reference it explicitly where supported, and compare the result with its rules before relying on it.
💡 Tip: if you only fix one thing this month, fix this. A useful context file makes your requirements easier to reuse, provided you supply it to the tool and check the result.
The Repeatable Workflow: From Figma to Shipped in 5 Steps
Explore in a generator, lock tokens in DESIGN.md, edit visually, polish against heuristics, ship on designer-friendly hosting. Each step has an exit criterion — do not advance until it passes.
Step 1 — Explore. Prompt v0 or Stitch until one direction feels right (three-round limit). Exit: an interactive draft you would show a client.
Step 2 — Lock tokens. Write or update DESIGN.md: colors, type, spacing, component rules extracted from the winning direction. Exit: the draft uses the specified tokens and any deviations are resolved.
Step 3 — Edit visually. Move the code into Onlook (or Cursor with your DESIGN.md loaded) and refine by touching the design. Exit: layout, type, and spacing match your Figma source.
Step 4 — Polish. Run the output against objective checks, not vibes: contrast, spacing rhythm, motion restraint, responsive breaks, accessibility basics. The 5 objective heuristics turn this into a checklist.
Step 5 — Ship. Deploy on designer-friendly hosting — no DevOps team required. Exit: a live URL.
Use one small landing page to practice the complete workflow.
⚠️ Warning: watch for time spent between Step 1 and Step 3 — endless re-prompting instead of locking tokens and editing visually. Think of it like print design: the generator is your rough sketch, DESIGN.md is your style guide, the editor is your press. Nobody re-sketches fifty times when the style guide already answers the question.
What Still Breaks (Honest Limits)
AI can help turn an idea into a working UI. It cannot decide whether the UI deserves to exist.
Design drift can occur: generated changes may stop following your tokens. The fix is re-grounding — re-feed DESIGN.md every few rounds, and diff visually against your Figma source.
Accessibility gaps persist. Check generated UI for low-contrast text, missing focus states, and inappropriate semantics. Treat an accessibility pass as mandatory, not optional.
Licensing of generated code is murky. Components generated in the style of a paid library are not a license to that library. When in doubt, use properly licensed sources and check terms before commercial use.
Know when to hire a developer. For this starter workflow, involve a developer for authentication, payments, complex state, and security-sensitive work. The workflow above covers marketing pages, portfolios, and prototypes — claim nothing more.
The structural answer to all four limits is human oversight by design: review and override loops that keep judgment where it belongs — with you.
Your First Week With AI Coding Tools: A Starter Plan
One landing page, two tools, five days.
Day 1–2, explore. Pick v0 or Stitch. Generate three directions for one landing page; keep one. Three-prompt limit per direction.
Day 3, tokens. Write DESIGN.md from the winning direction. Colors, type scale, spacing, three component rules.
Day 4, edit and polish. Move to Onlook or Cursor. Match your Figma source, then run the polish heuristics. Expect this day to feel slow — it is where the page stops looking generated and starts looking designed. Budget extra time for the responsive breakpoint pass; verify the generated layout at your target mobile widths.
Day 5, ship. Deploy to designer-friendly hosting. Share the URL and note what broke — that list is next week's DESIGN.md update.
Concrete example to anchor the week: a one-page portfolio — hero, three project cards, contact section. Small enough to finish, real enough to teach every step.
Checklist close: generator picked, DESIGN.md written, visual edit done, heuristics passed, URL live. Five boxes, one shipped page, a workflow you now own.
FAQ
Do designers need to learn to code to use AI coding tools?
No. Visual-first tools can support small sites and prototypes; code literacy helps you review and maintain the result — reading an error, tweaking a class — but writing code from scratch is not the entry price.
Which AI coding tool should a designer learn first?
v0 or Stitch for exploration; Onlook when ready to ship. That sequence mirrors the workflow: generate first, edit visually second, add Cursor only when code-adjacent work pays off.
What is DESIGN.md?
A plain-text design system file — tokens, rules, constraints — that you supply through an AI tool’s supported context mechanism. Check that the tool reads it and follows the guidance. Full method in the DESIGN.md handoff guide.
Will AI replace designers?
It can automate some production tasks; that does not settle whether a particular design role will be replaced. Somebody still decides what deserves to exist, whether it serves the user, and when the output is wrong. The review loop is the job now.
The takeaways on AI coding tools fit on an index card: two tools, not ten; DESIGN.md is the multiplier; workflow beats prompting; judgment still ships the product. Try the pairing on a small project and use the result to decide what to learn next. Build the five-day starter page this week — then read the DESIGN.md handoff guide next and make your design decisions easier to reuse.
Linh Nguyen
Graphic Designer
Passionate Graphic Designer | Specializing in Illustration Design | Bringing Captivating Visuals to Life